LaTex 的安装配置

目录
一、TeXLive 下载
二、TeXLive 安装
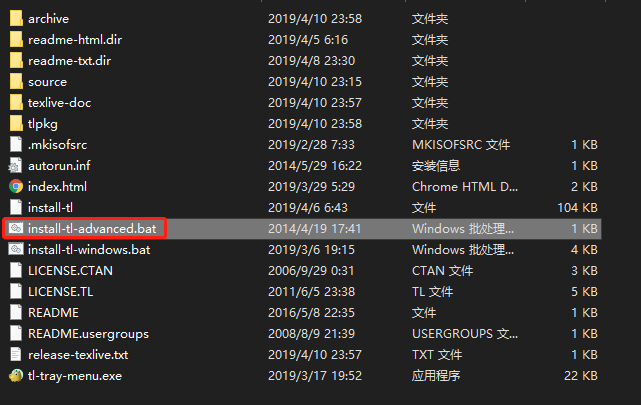
- 在 TeXLive 文件,找到
install-tl-advanced.bat文件,以管理员身份运行。
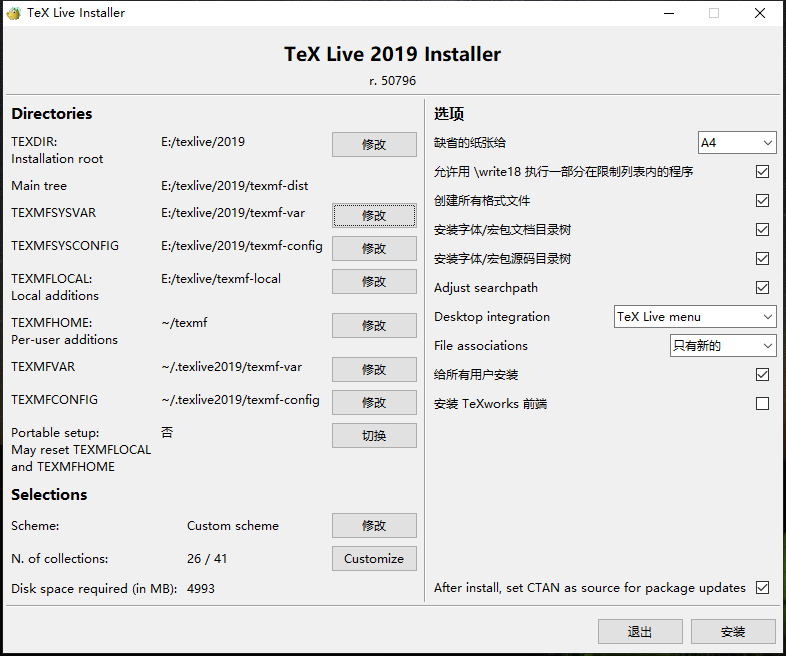
- 修改 TeXLive 文件的安装位置,为了控制一下TeX Live占用的内存大小,我们可以选择修改N. of collections选项,并根据个人需要,去掉Texworks(比较老的编辑器,不推荐)以及部分我们日常不会使用的语言包,例如阿拉伯语、斯洛伐克语等等
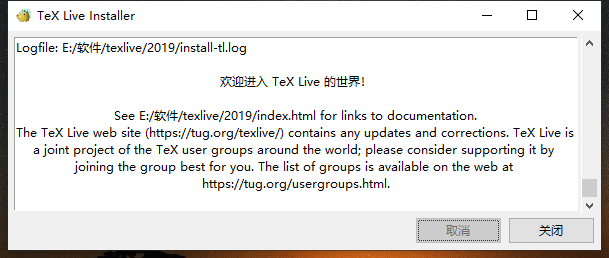
- 经过一段漫长的安装,欢迎进入 TeXLive 的世界
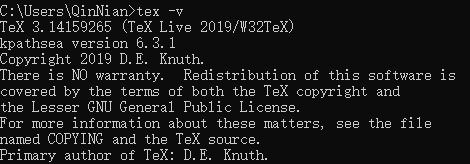
- 检查安装是否成功
tex -v //查看 tex 的版本信息
latex -v //查看 laTeX 的版本信息
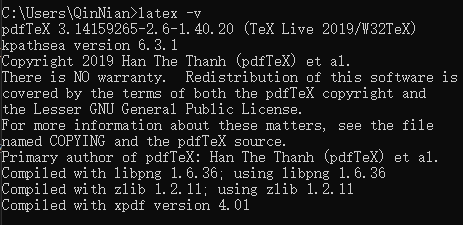
xelatex -v //查看 XeTeX 的版本信息

pdflatex -v //查看 pdfTeX 的版本信息
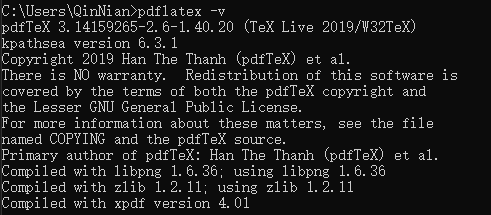
三、TeXstudio 下载安装
-
TexStudio下载(百度网盘) 提取码:pcs5j
四、测试LaTeX环境
\documentclass[UTF8]{ctexart}
    \title{钦念博客}
    \author{Qinnian}
    \date{\today}
    \begin{document}
    \maketitle
    www.qinnian.xyz
\end{document}
完成编译并运行
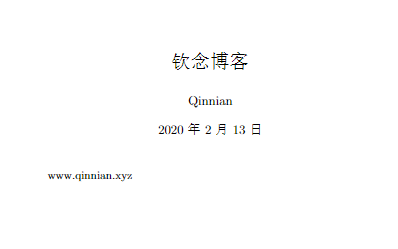
五、vscode环境配置
- 安装vscode插件
LaTex Workshop - 打开
settings.json
    "latex-workshop.latex.recipe.default": "lastUsed",
    "latex-workshop.latex.recipes": [
        {
            "name": "xeLaTex -> pdflatex -> bibtex -> pdflatex -> pdflatex",
            "tools": [
            "xelatex",
            "pdflatex",
            "bibtex",
            "pdflatex",
            "pdflatex"
            ]
        },
        {
            "name": "PDFLaTeX",
            "tools": [
            "pdflatex"
            ]
        },
        {
            "name": "XeLaTeX",
            "tools": [
            "xelatex"
            ]
        },
        {
            "name": "latexmk",
            "tools": [
            "latexmk"
            ]
        },
        {
            "name": "BibTeX",
            "tools": [
            "bibtex"
            ]
        },
        {
            "name": "pdflatex -> bibtex -> pdflatex*2",
            "tools": [
            "pdflatex",
            "bibtex",
            "pdflatex",
            "pdflatex"
            ]
        },
        {
            "name": "xelatex -> bibtex -> xelatex*2",
            "tools": [
            "xelatex",
            "bibtex",
            "xelatex",
            "xelatex"
            ]
        },
        {
            "name": "xelatex -> bibtex -> pdflatex",
            "tools": [
            "xelatex",
            "bibtex",
            "pdflatex"
            ]
        },
        {
            "name": "bibtex -> pdflatex",
            "tools": [
            "bibtex",
            "pdflatex"
            ]
        }
    ],
    "latex-workshop.latex.tools": [


    {
        "name": "latexmk",
        "command": "latexmk",
        "args": [
            "-synctex=1",
            "-interaction=nonstopmode",
            "-file-line-error",
            "-pdf",
            "%DOC%"
        ]
    }, {
        "name": "xelatex",
        "command": "xelatex",
        "args": [
            "-synctex=1",
            "-interaction=nonstopmode",
            "-file-line-error",
            "%DOC%"
        ]
    }, {
        "name": "pdflatex",
        "command": "pdflatex",
        "args": [
            "-synctex=1",
            "-interaction=nonstopmode",
            "-file-line-error",
            "%DOC%"
        ]
    }, {
        "name": "bibtex",
        "command": "bibtex",
        "args": [
            "%DOCFILE%"
        ]
    }
],
latexmk - LaTeX 要生成最终的 PDF 文档,如果含有交叉引用、BibTeX、术语表等等,通常需要多次编译才行。而使用 Latexmk 则只需运行一次,它会自动帮你做好其它所有事情。默认情况下使用的是pdflatex命令进行编译。关于latexmk的配置,详情见参考链接Latex 编译和编写方案配置 — latexmk + latexworkshop。
pdflatex - 使用pdfTeX程序来编译LaTeX格式的tex文件
xelatex - 使用XeTeX程序来编译LaTeX格式的tex文件
